Creating a program is the first step, follow the instructions below to create a program
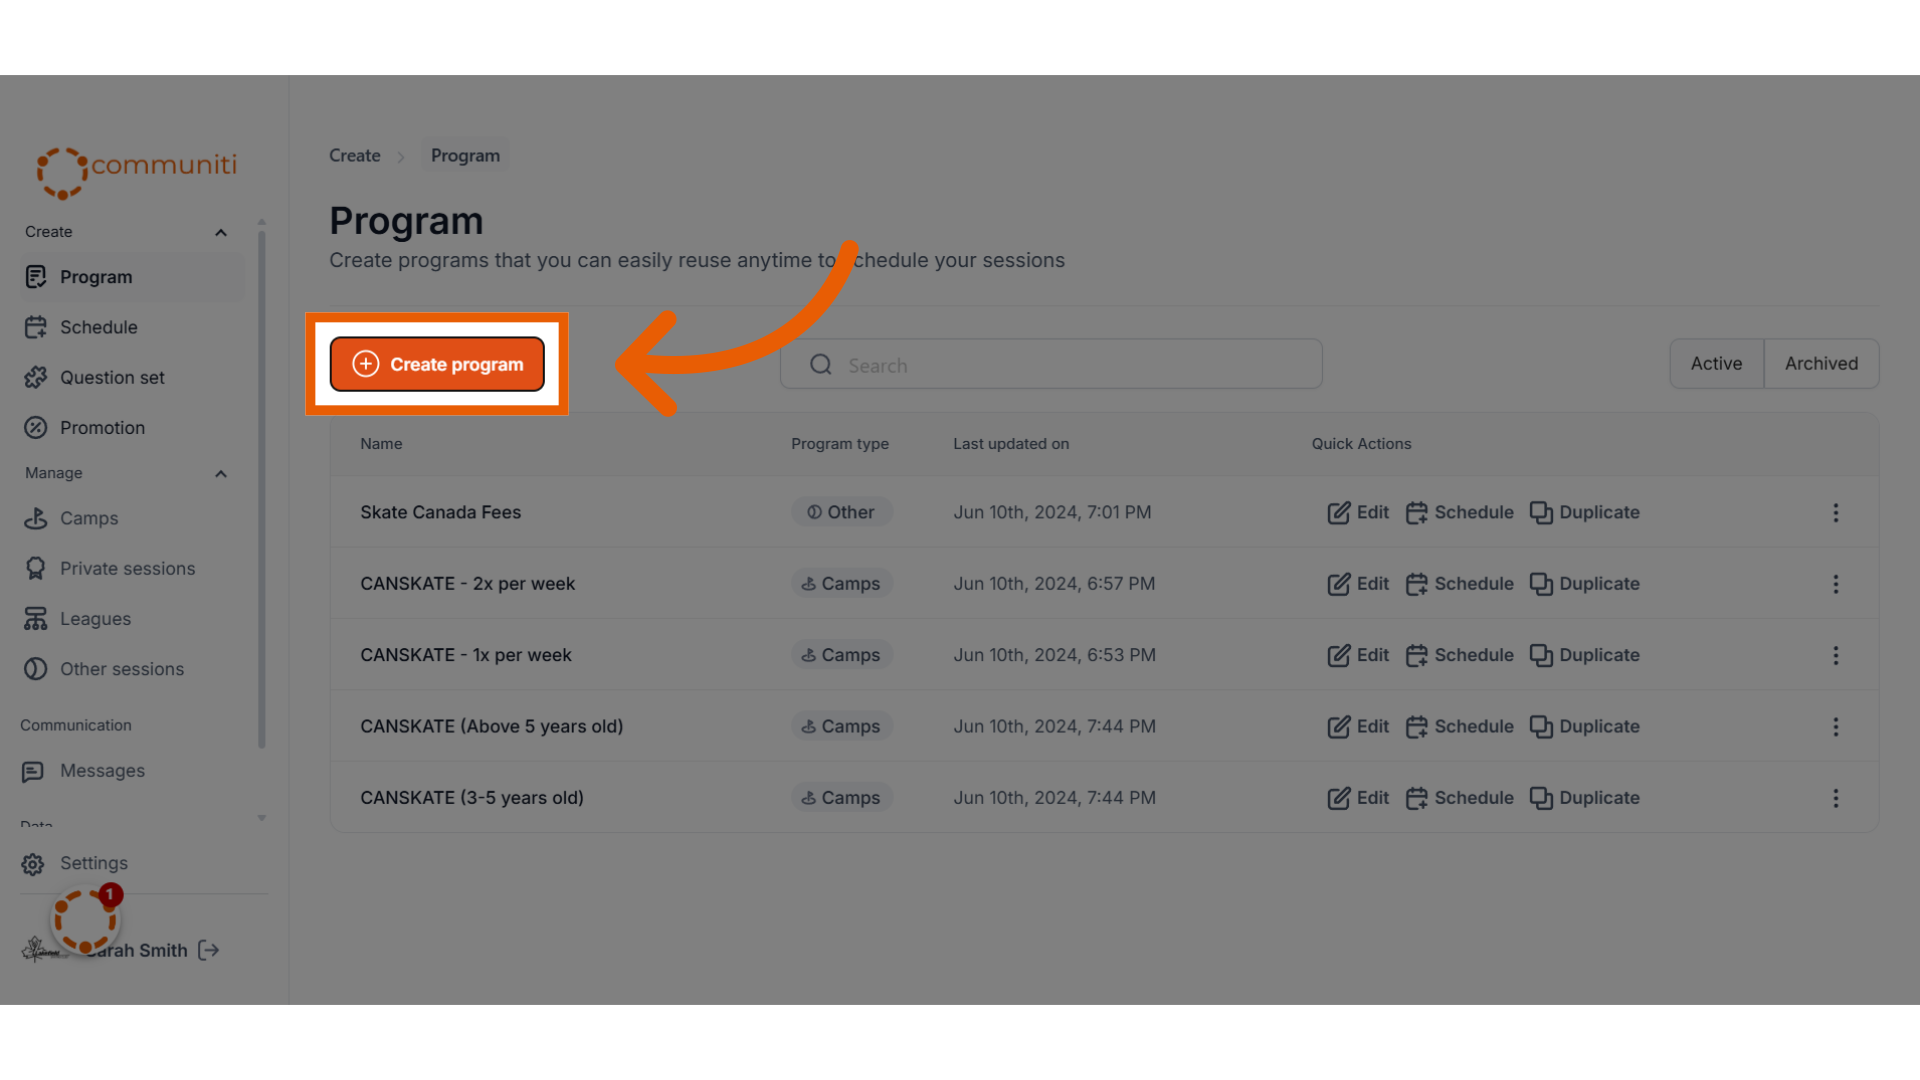
1. Under the Create menu, Click "Program"
2. Click "Create program"
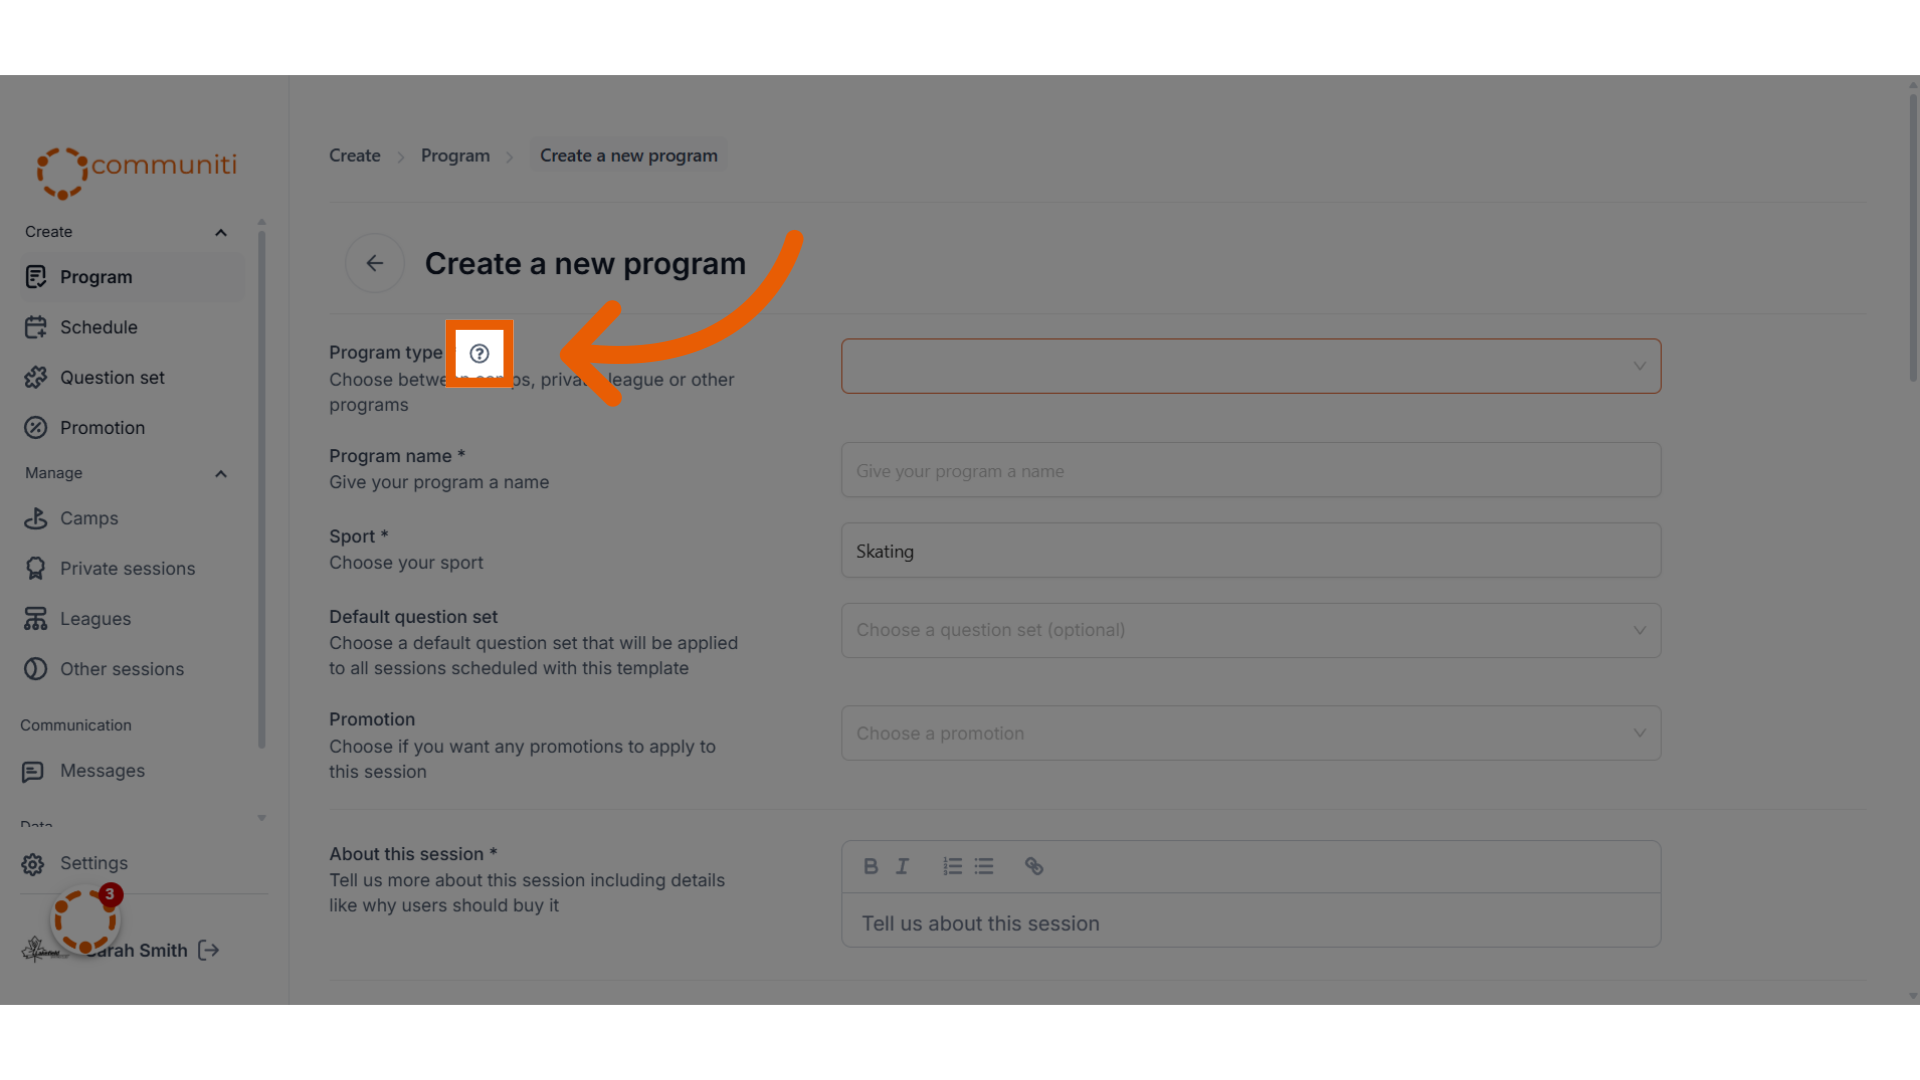
3. Select your program type from the dropdown
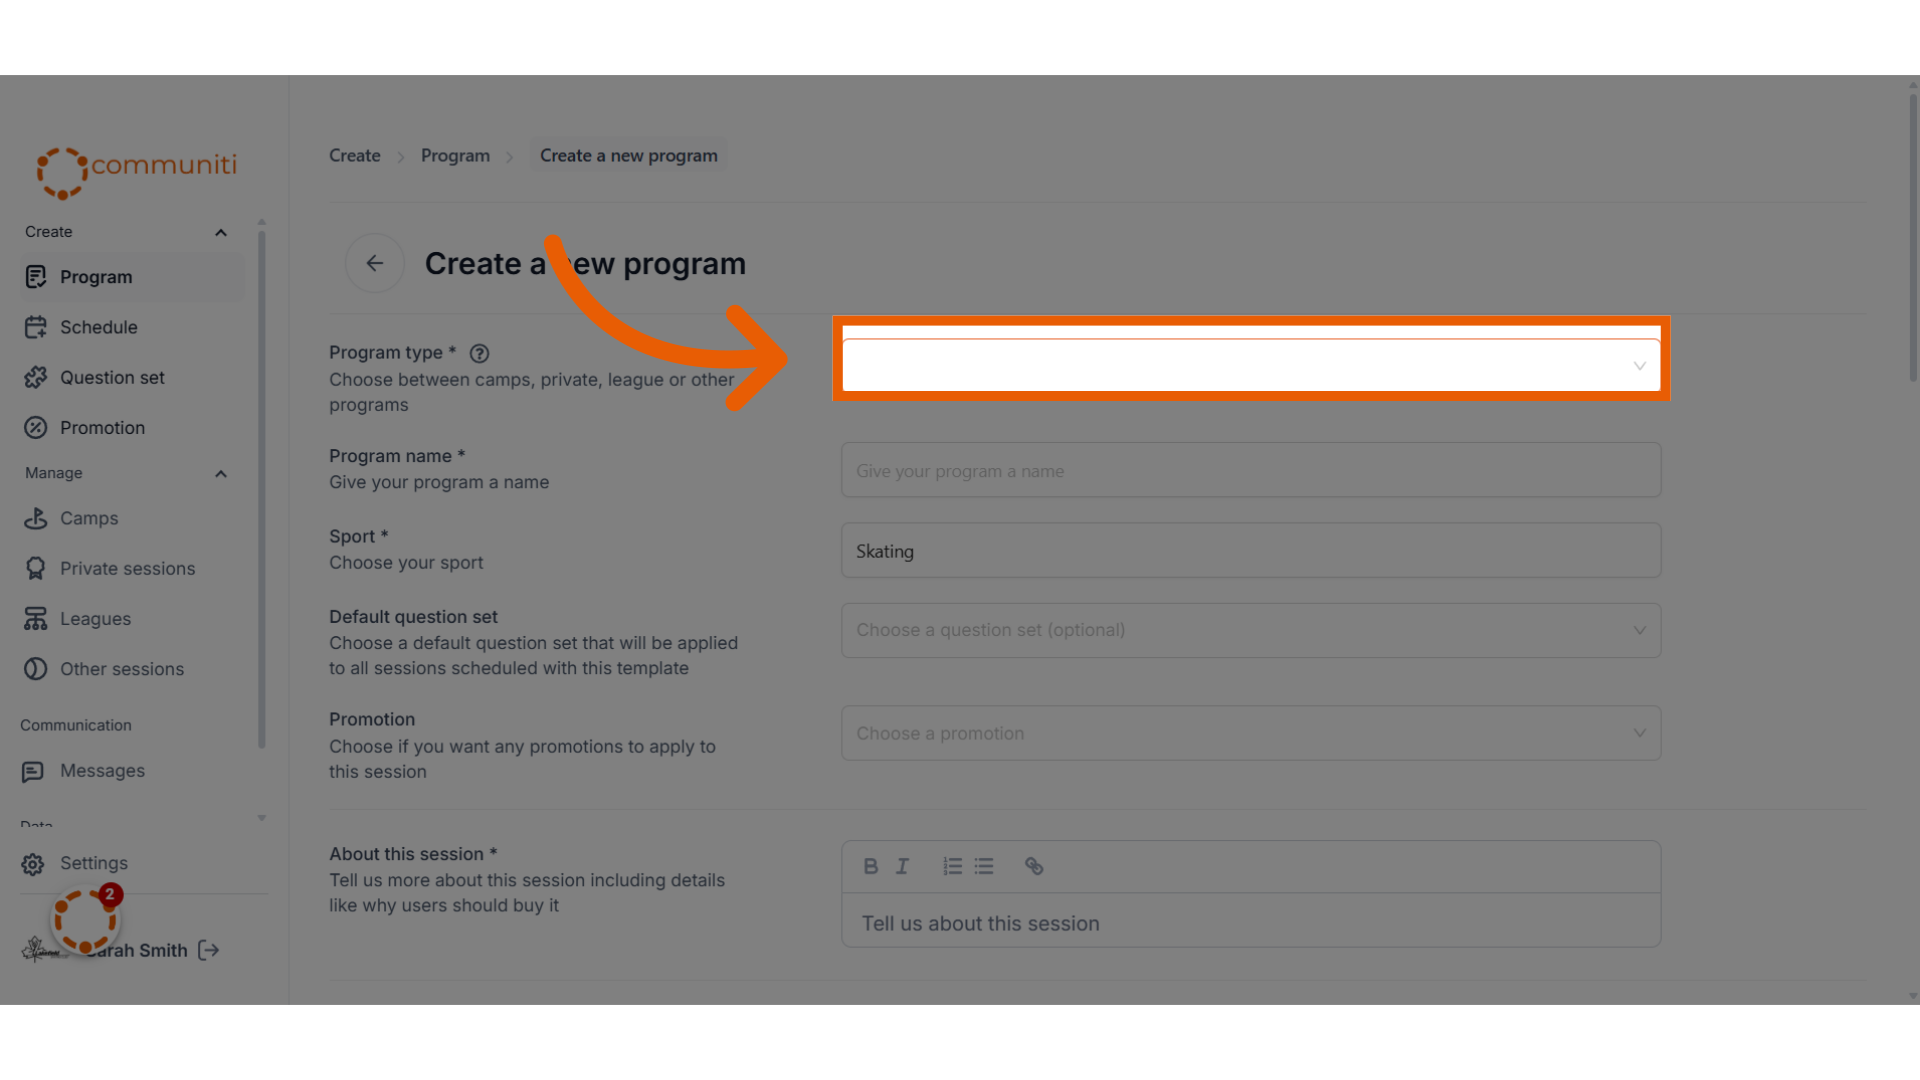
4. To learn more about each program type, click on the help button next to Program Type
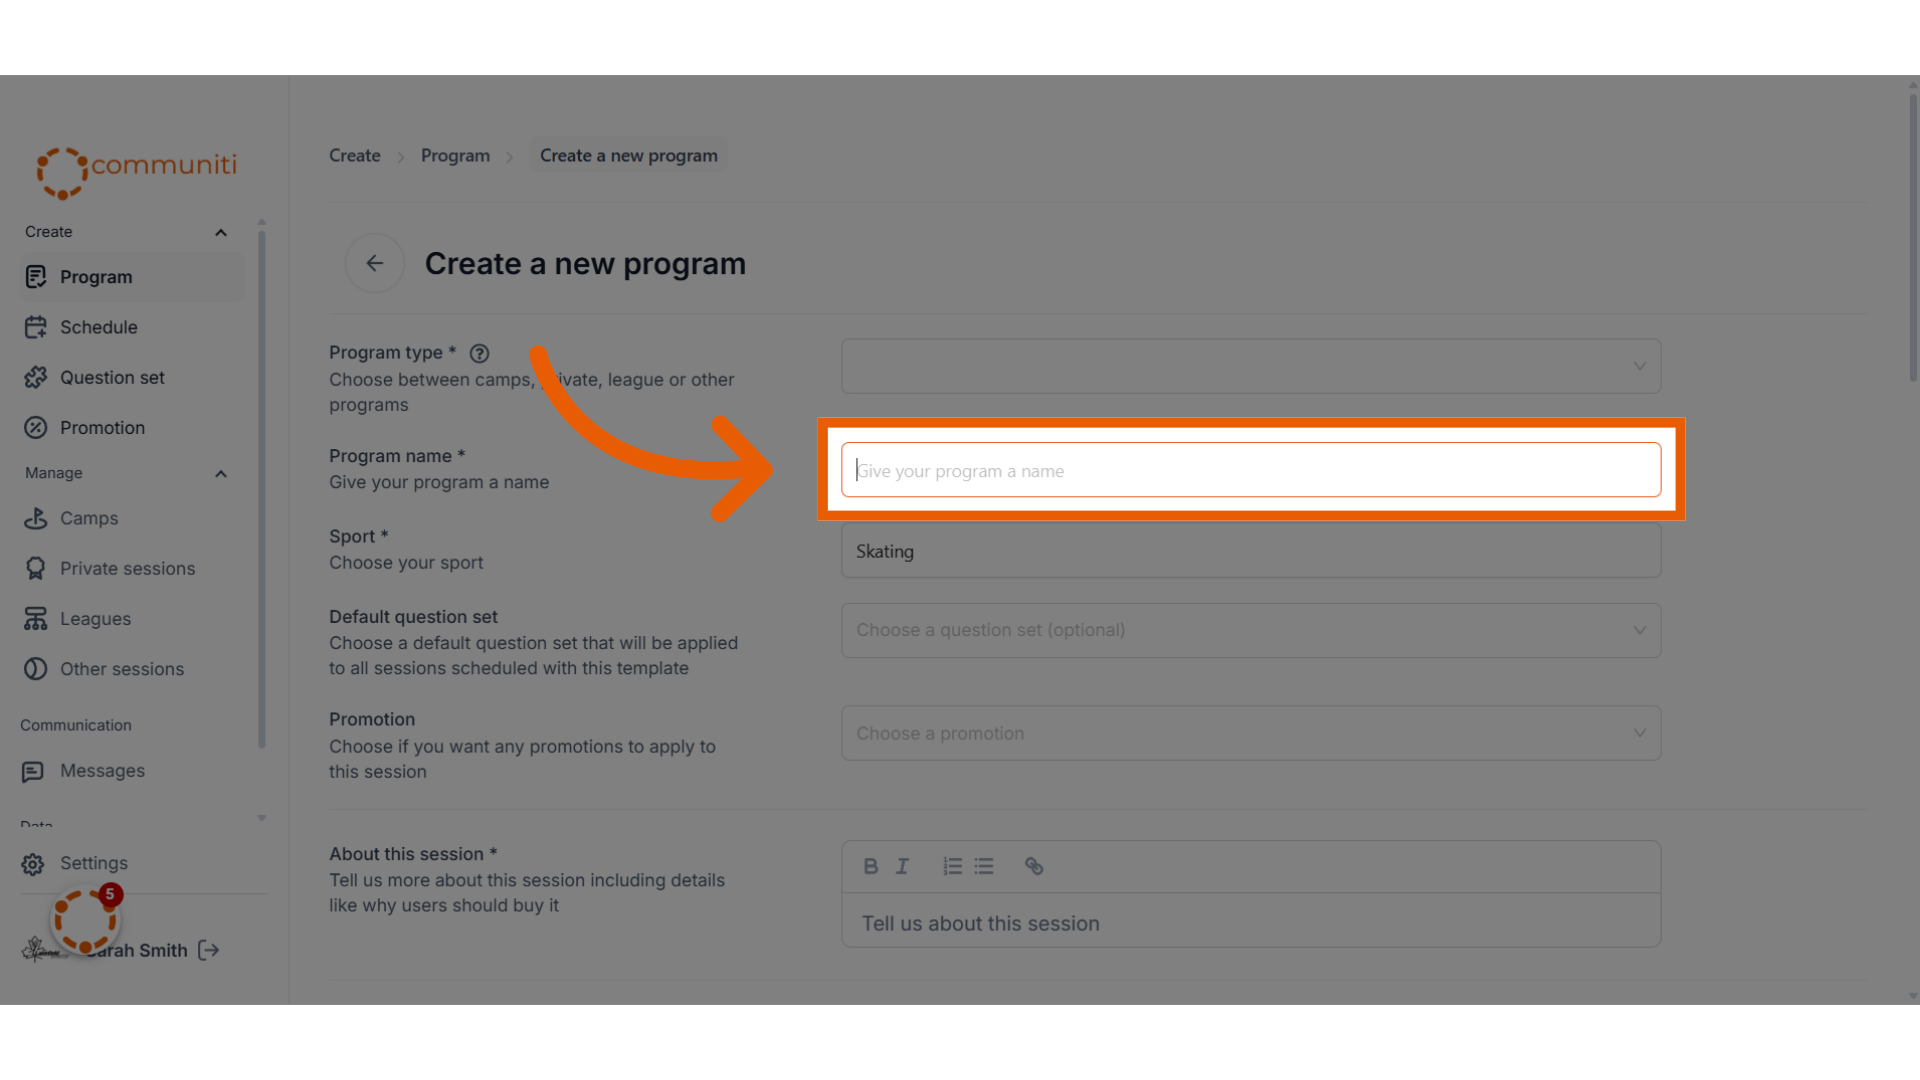
5. Choose a name for your program
Example: Beach Camp, Learn to Skate, Soccer Clinics etc. You don't have to enter the specific day or week of the program in the name as you will choose that later when you schedule a batch.
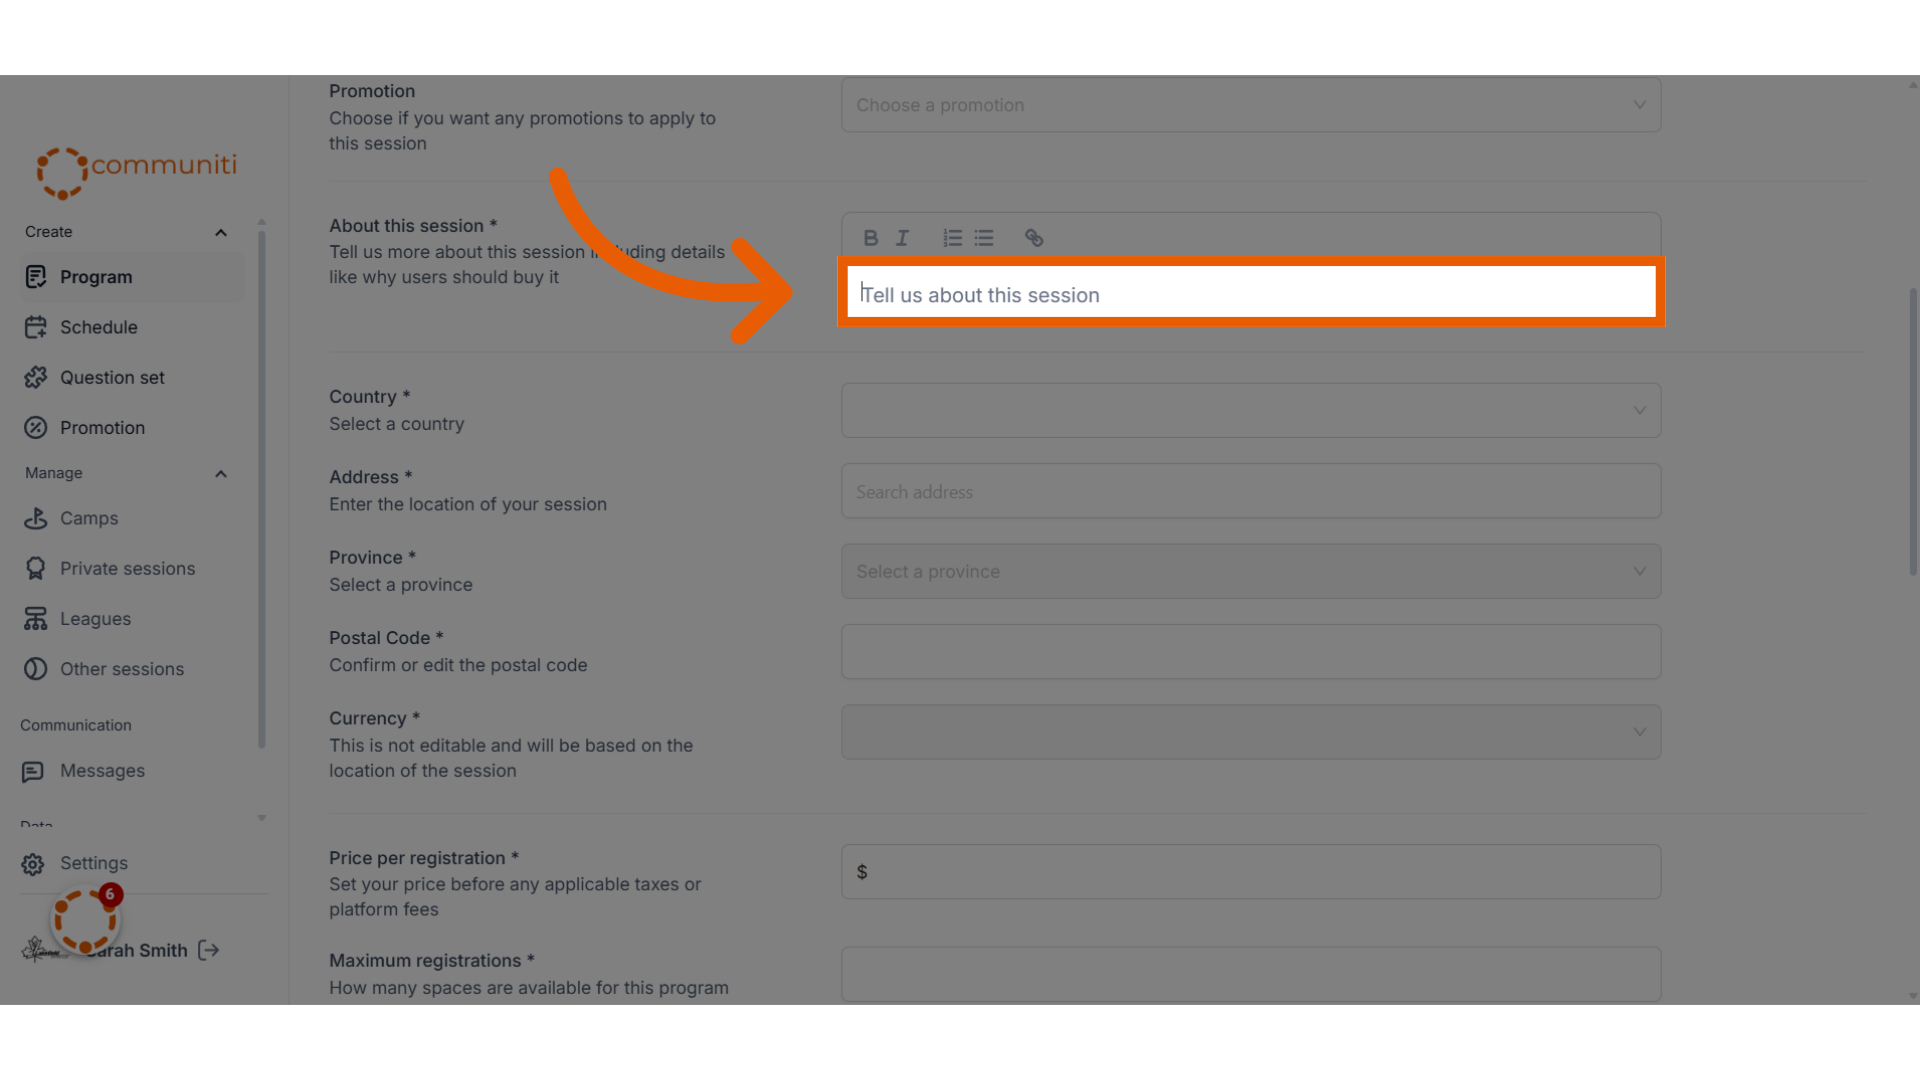
6. Describe what will happen in your program
Provide a clear description to users, think about who this session is for, what is going to happen in the session etc.
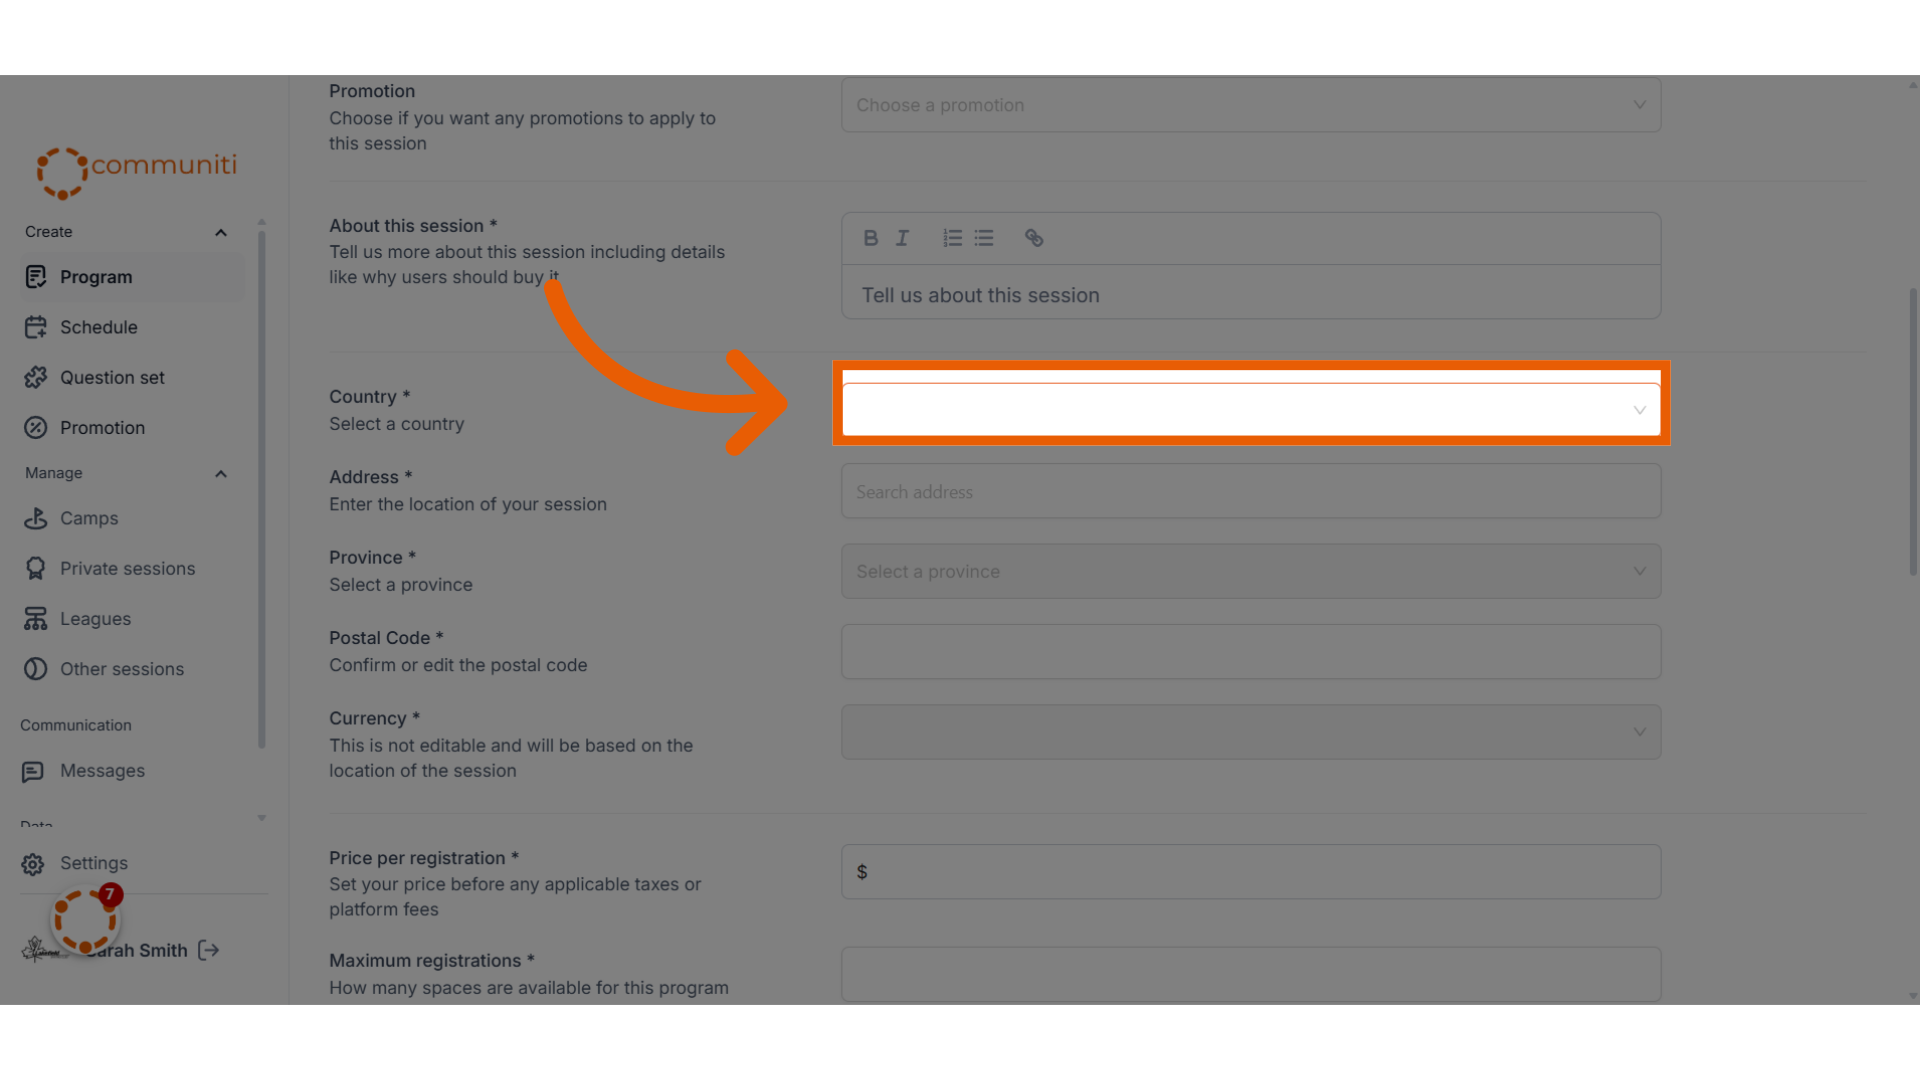
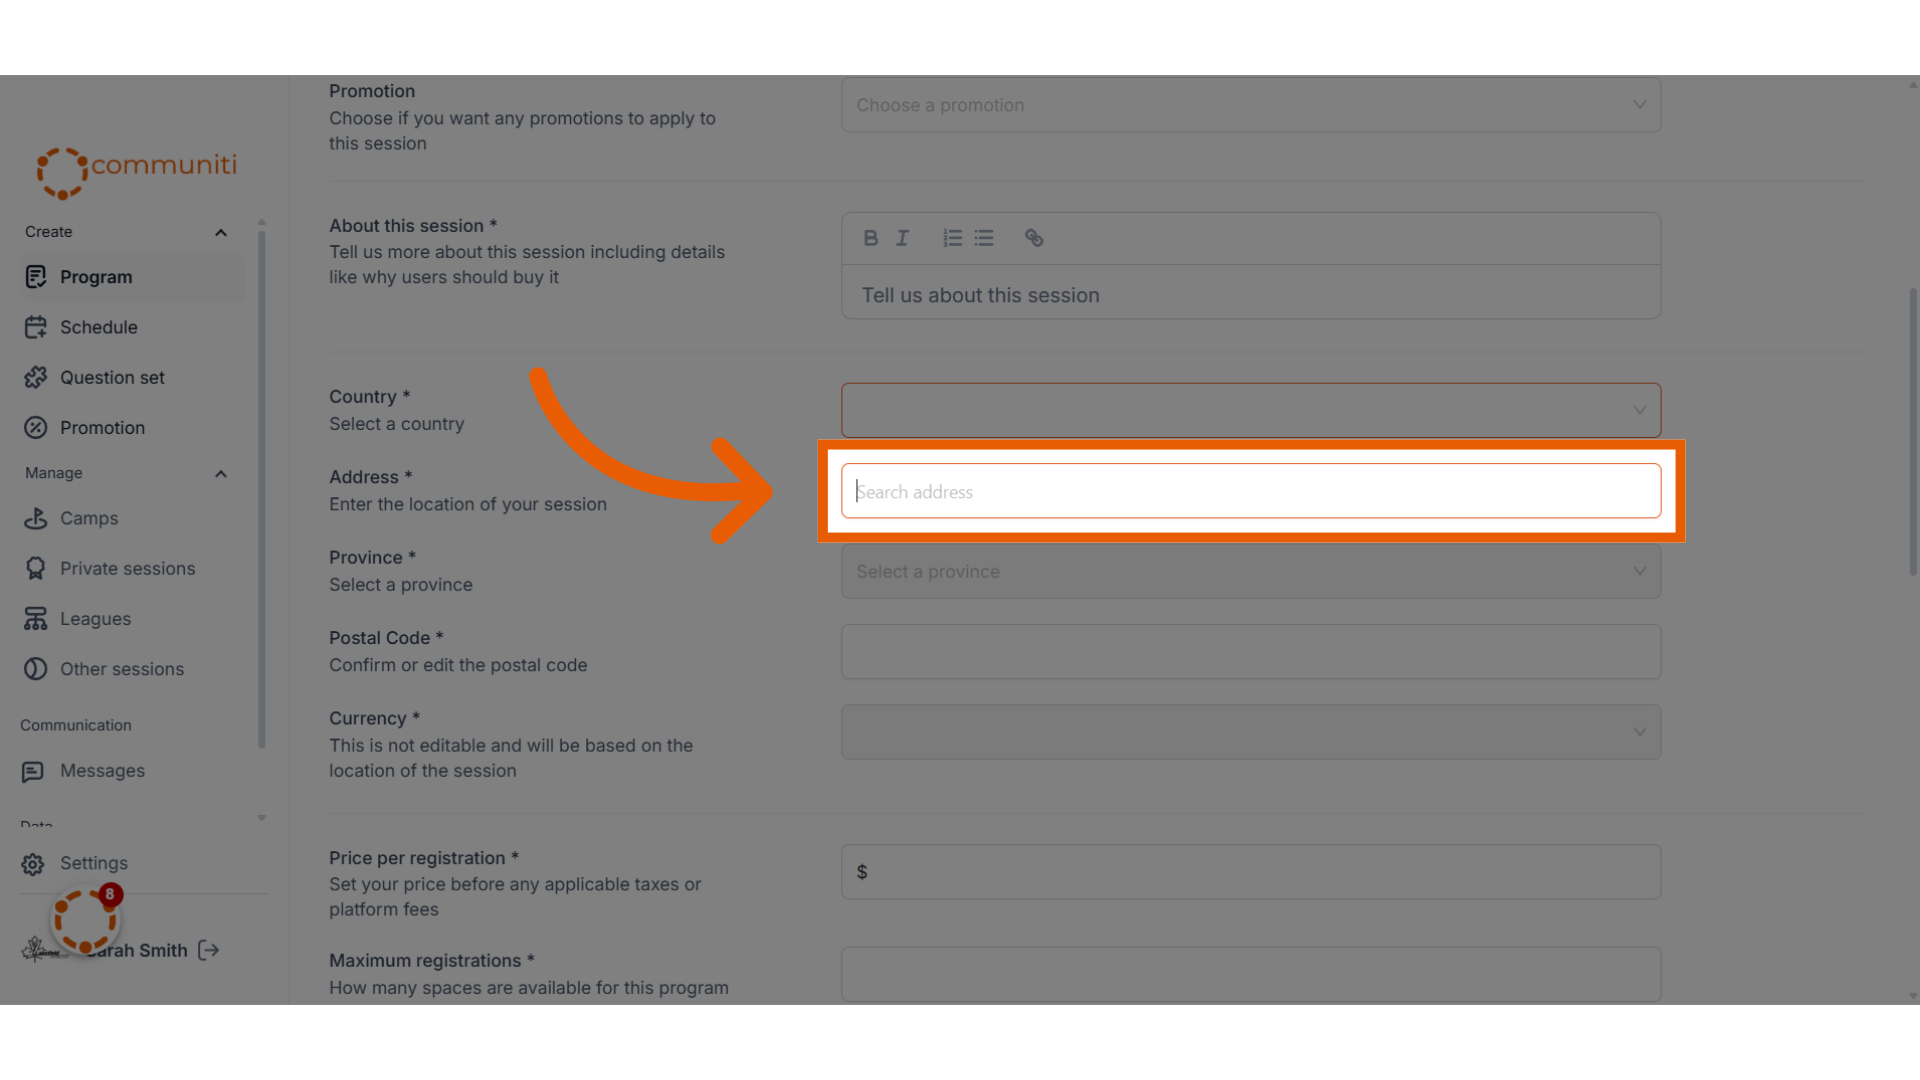
7. Select the Country where the program will be held
For now, we only support the US and Canada
8. Enter the address where the program will occur
If you start typing, a list of addresses will show up - please select one of them from the dropdown. You cannot enter your own address - it has to be one of the selections from the dropdown.
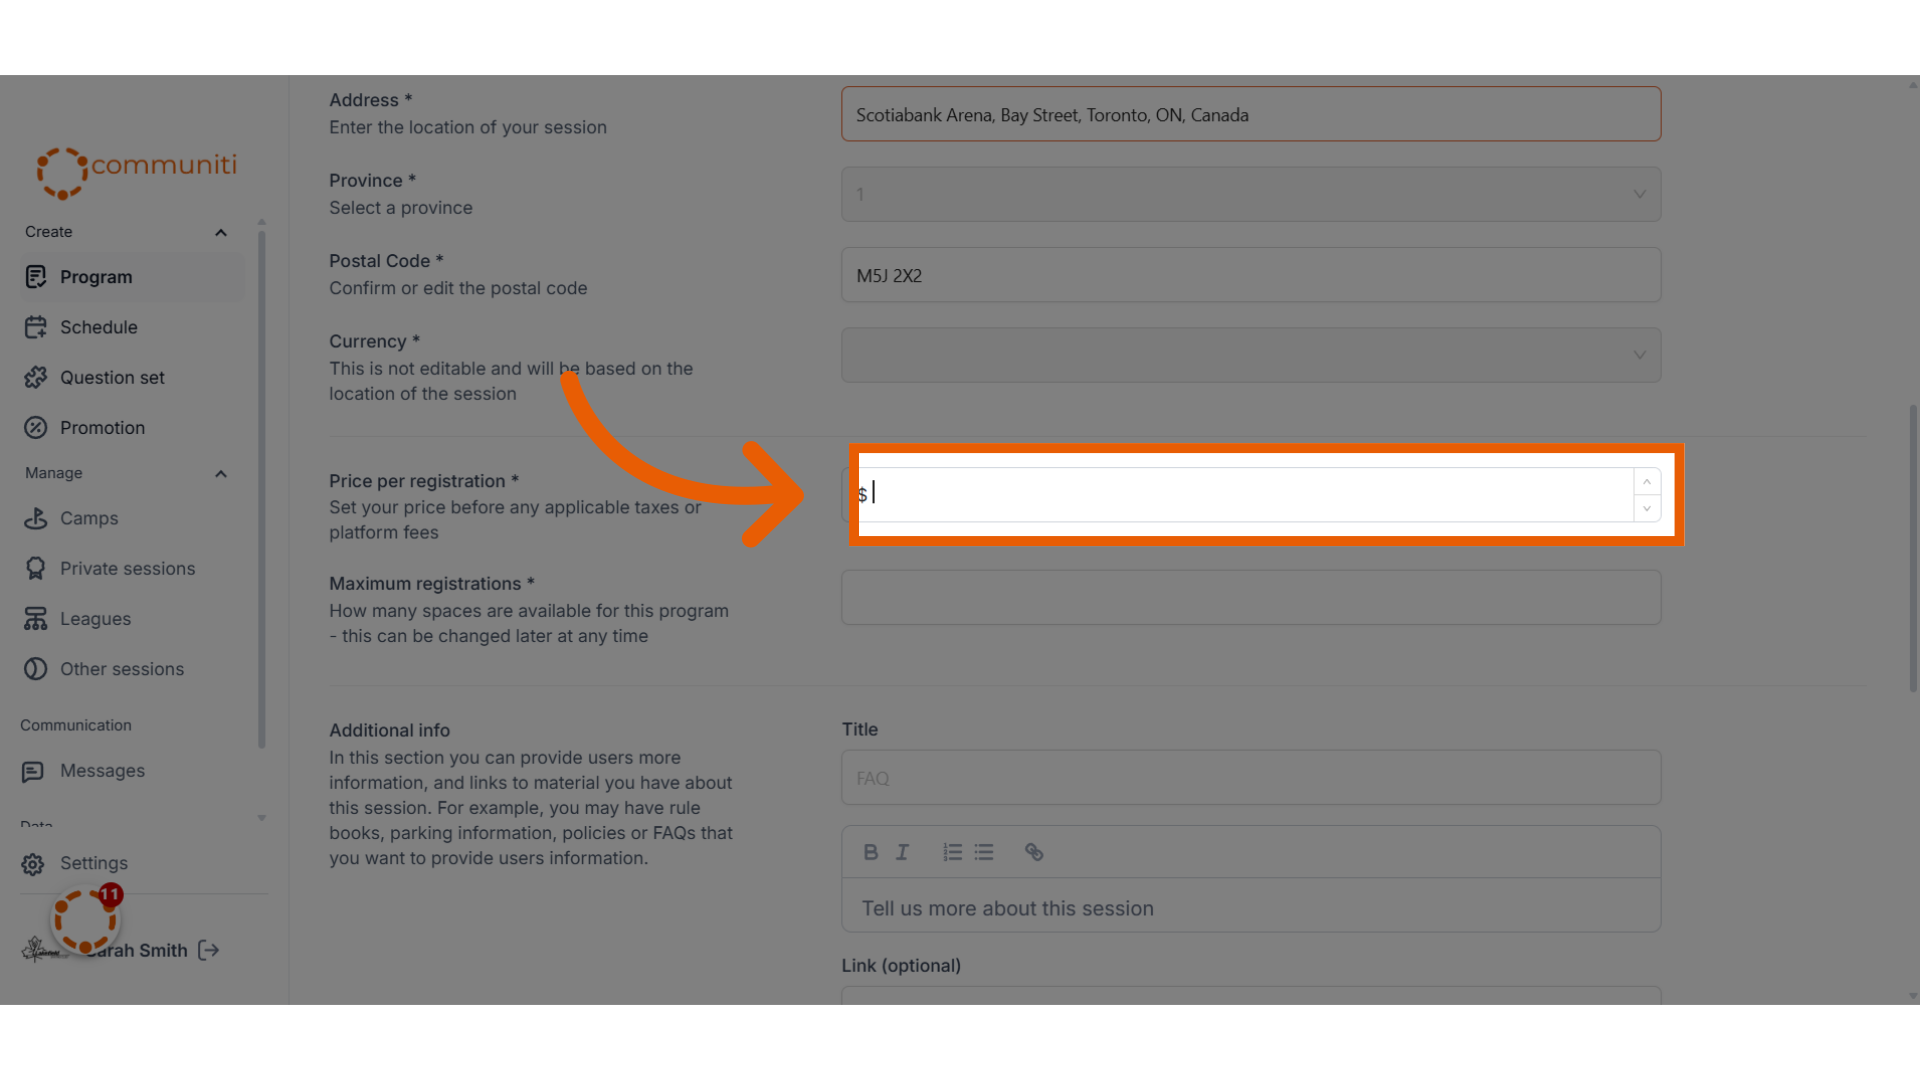
9. Set your price
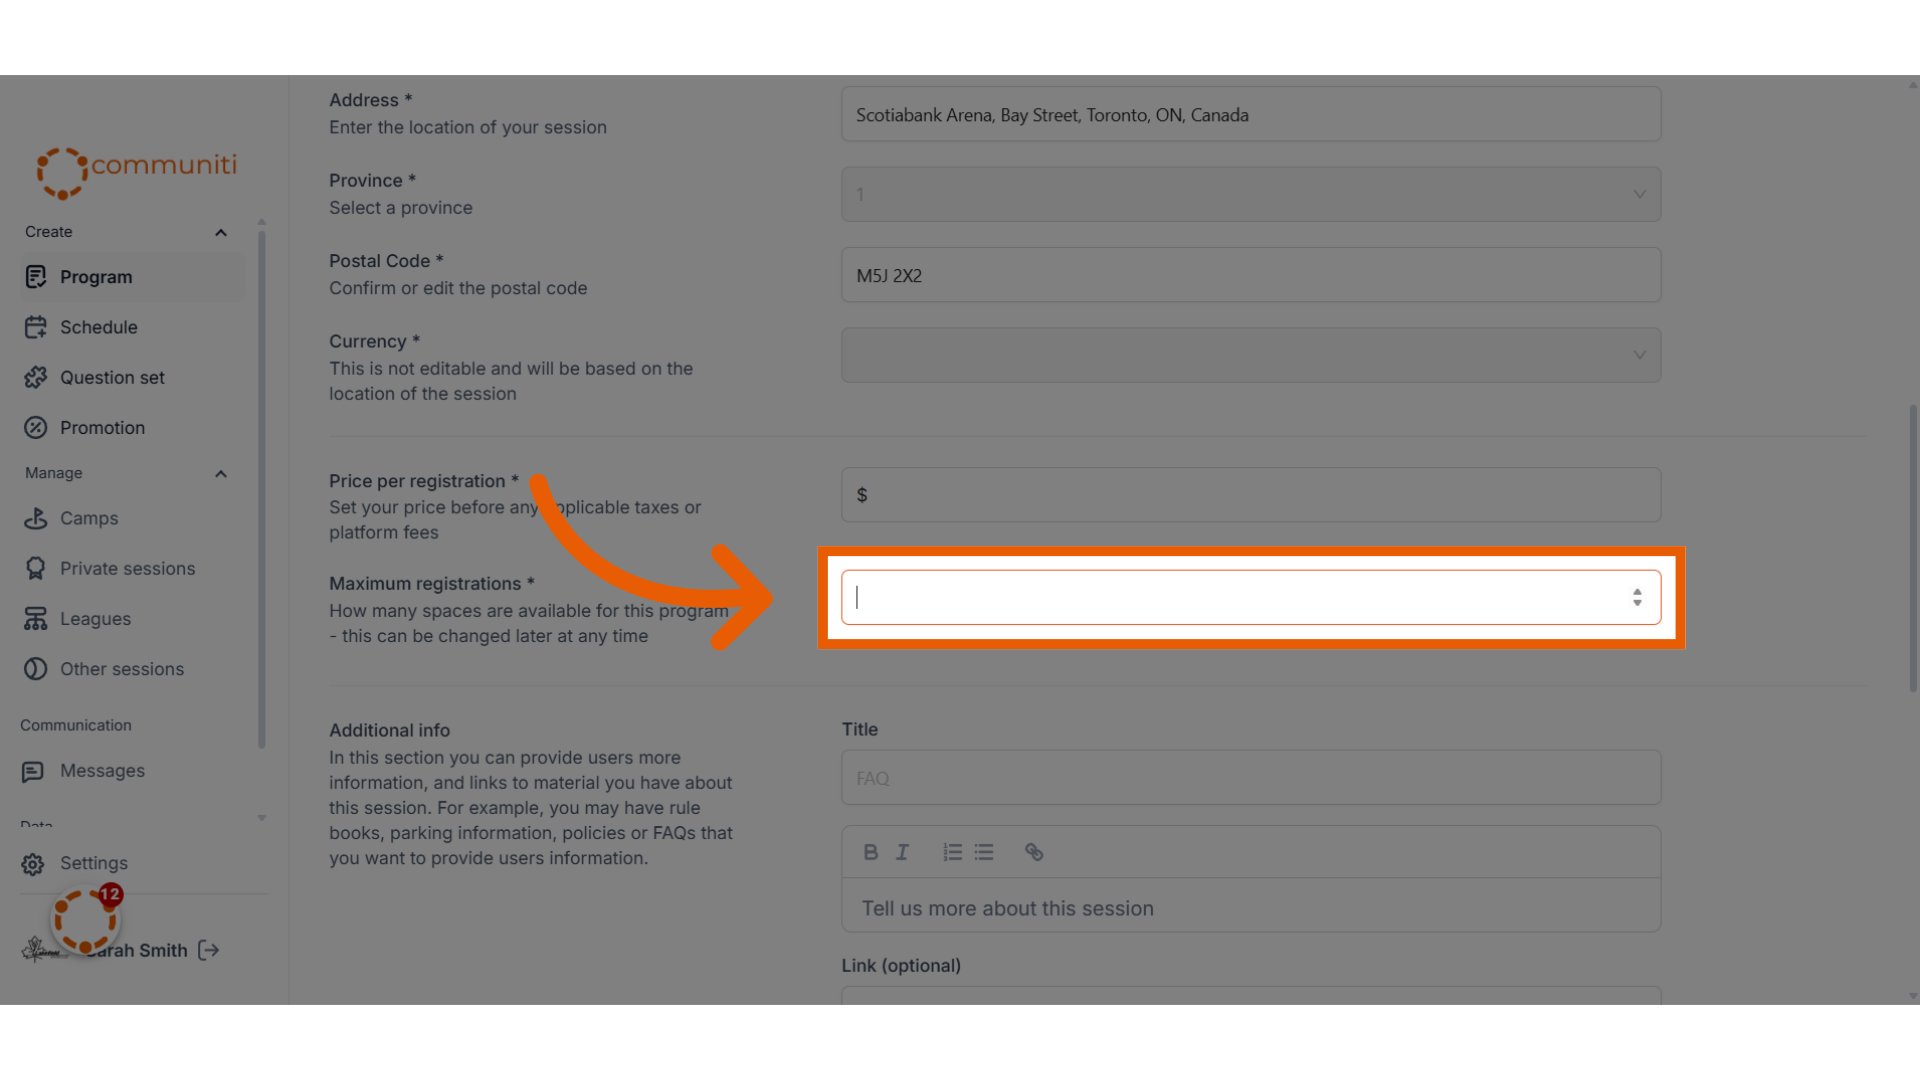
10. Enter the maximum number of slots for this program
After you hit this limit, registrations will no longer be allowed. You can always increase/decrease this for every batch you schedule.
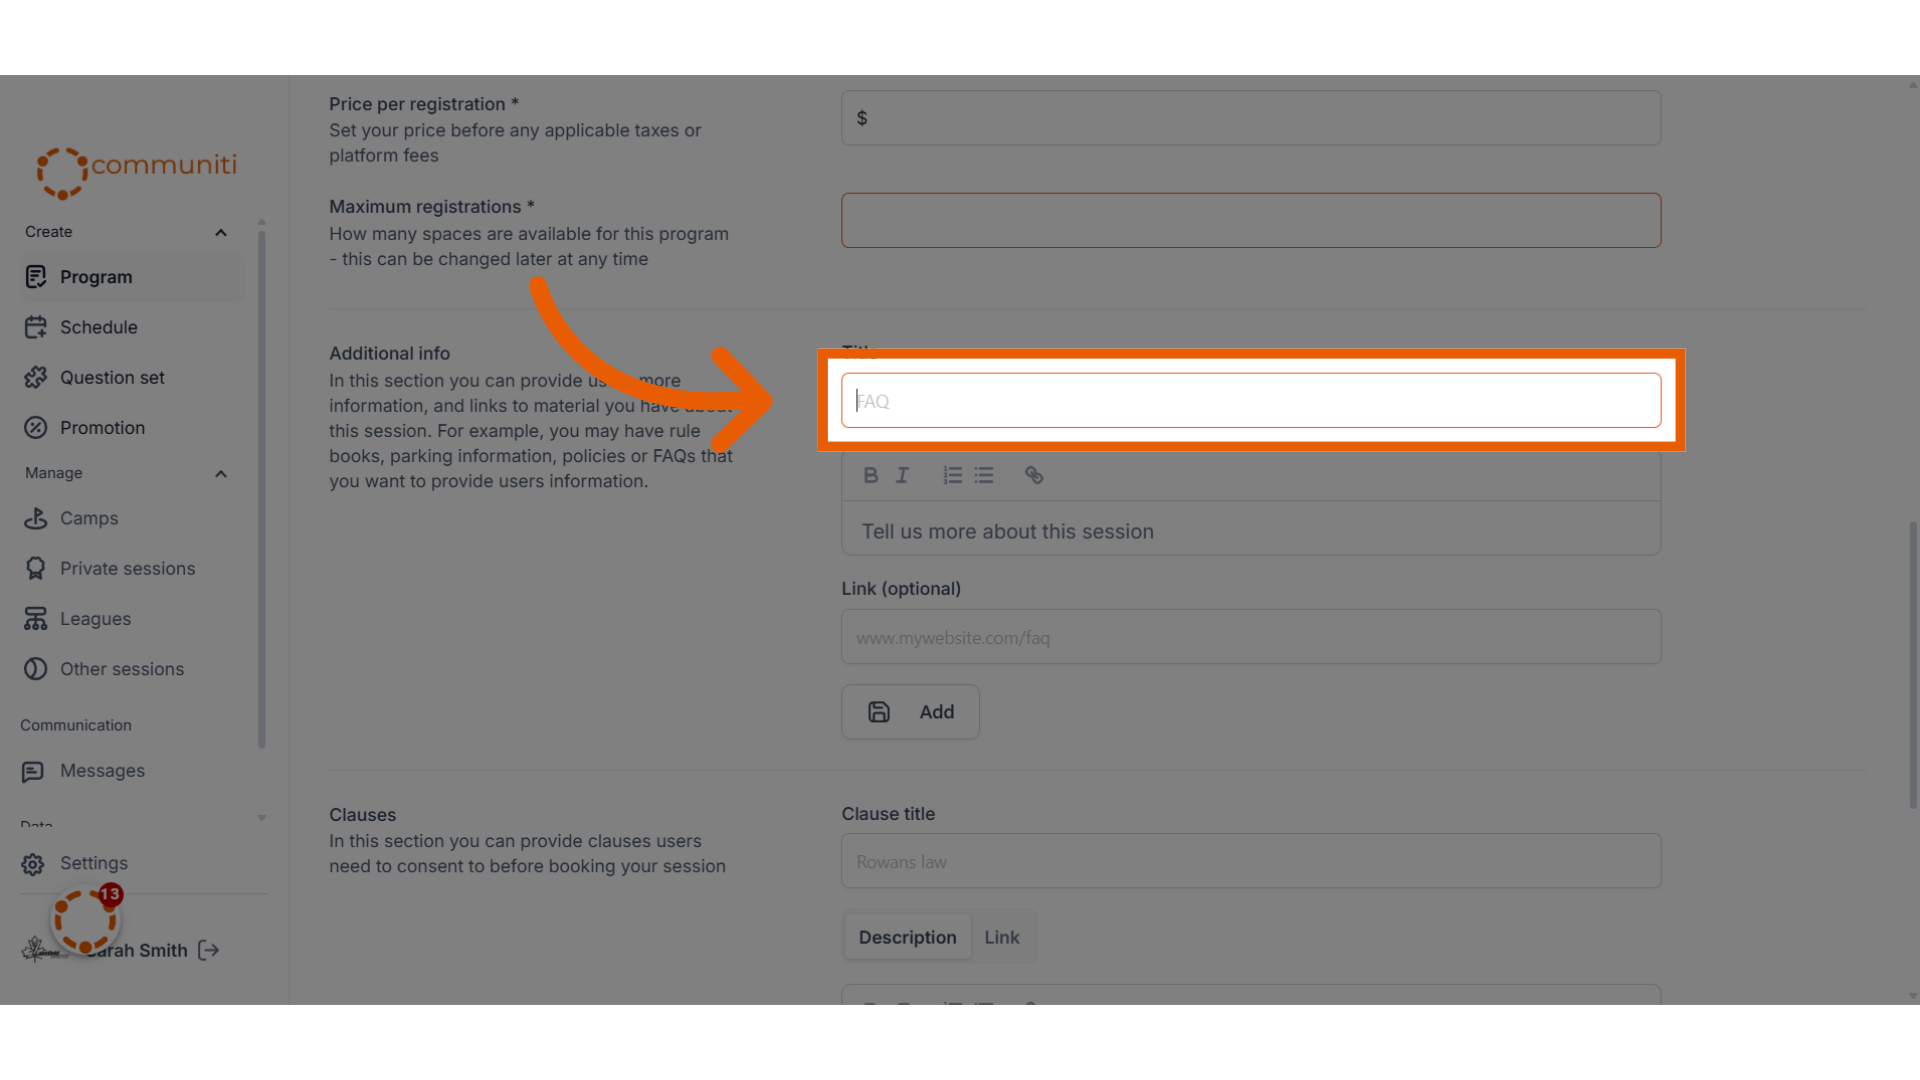
11. Add in any additional information
You can create multiple sections under this. For example, you can have one section to say What to Bring, the other one can be Agenda etc.
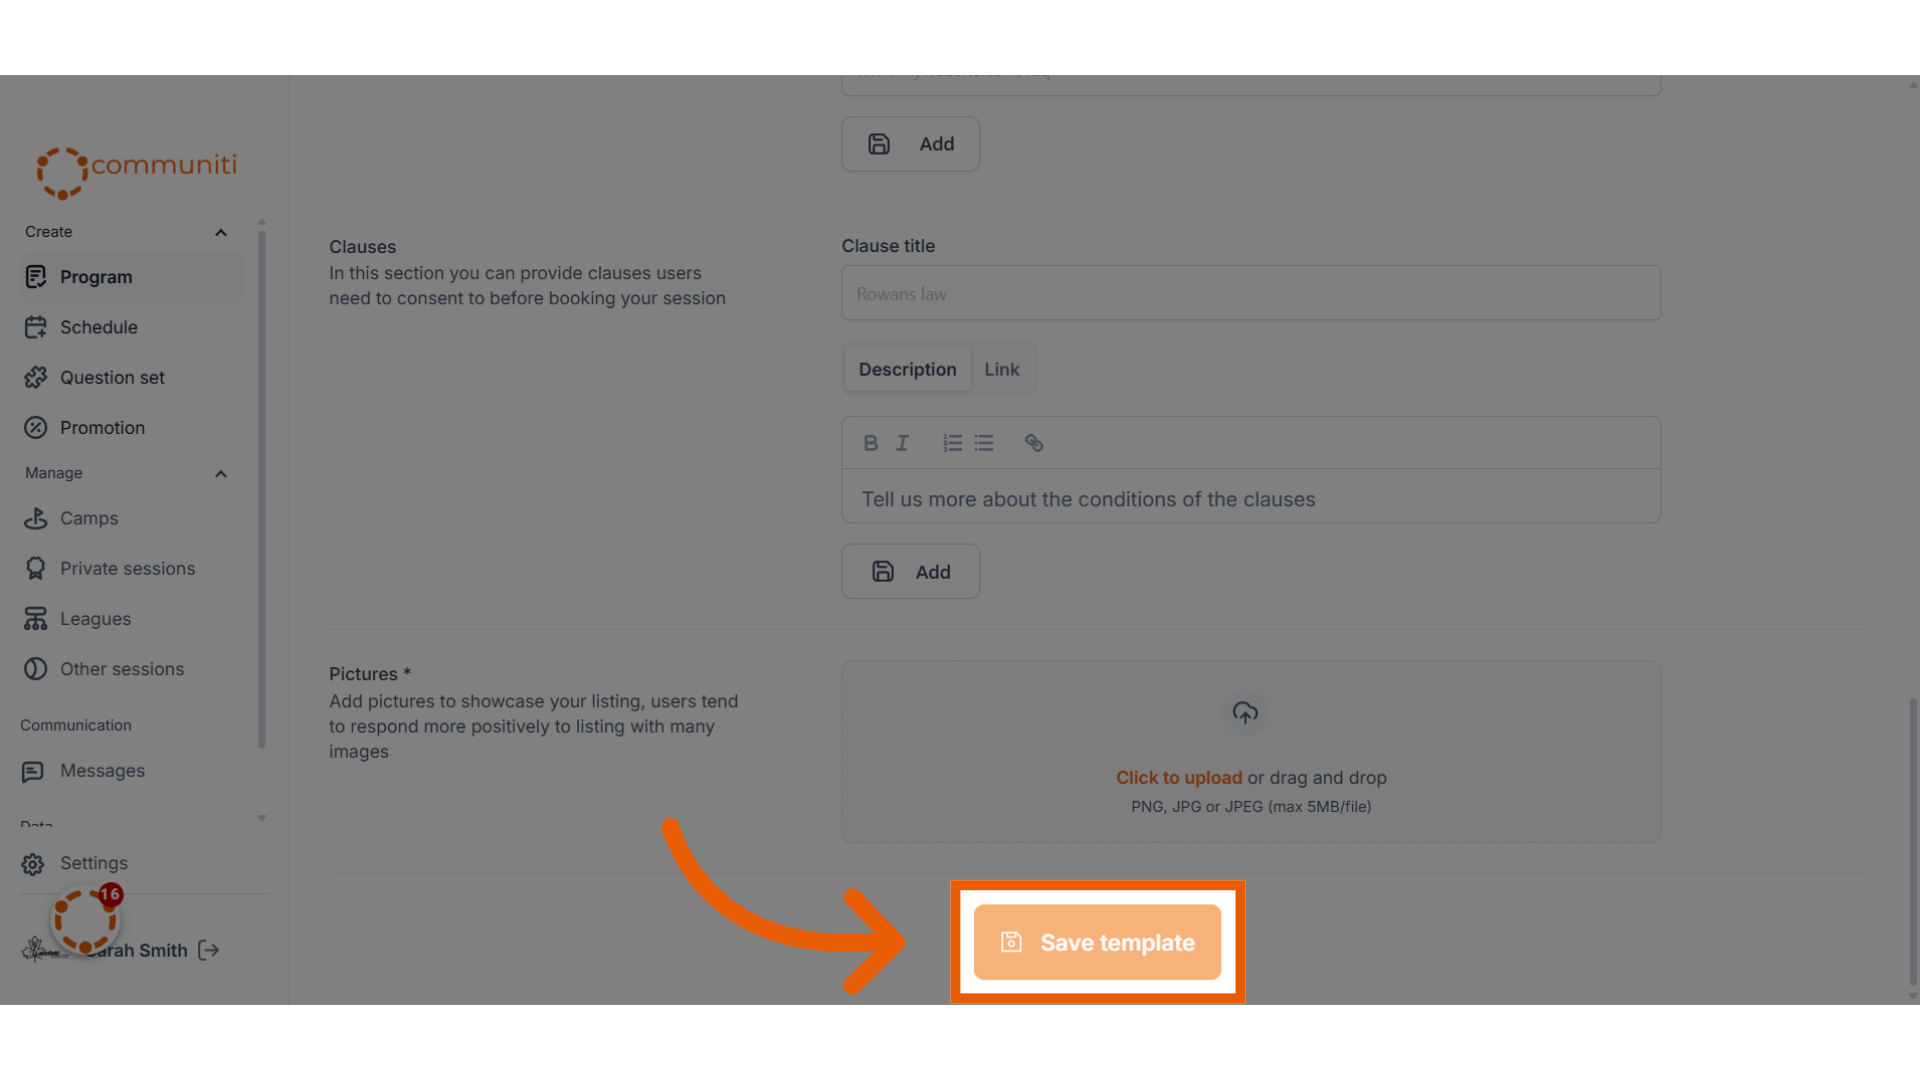
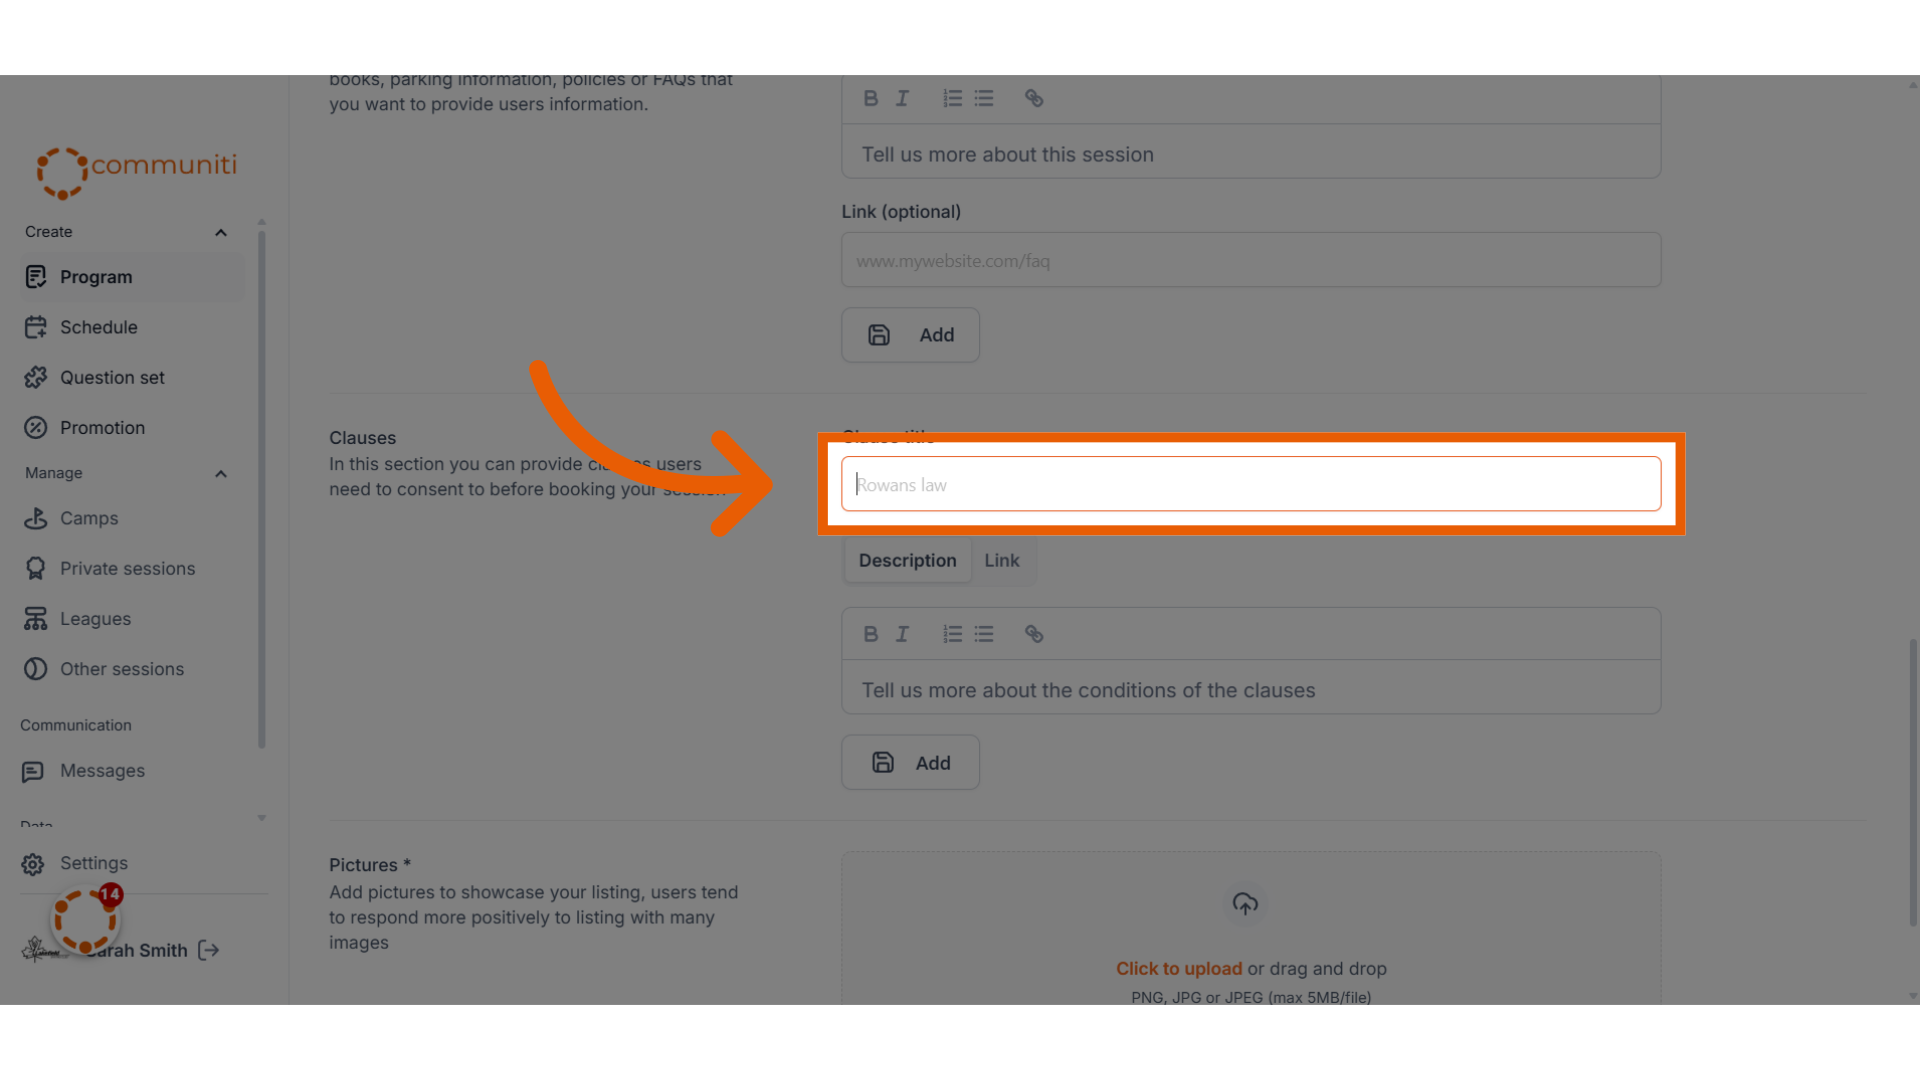
12. Add in your clauses/waivers for the program here
Users will have to agree to this before they book with you.
13. Upload Pictures
Adding atleast one picture per program is mandatory, we recommend adding multiple ones. Pictures are a great way to stand out.
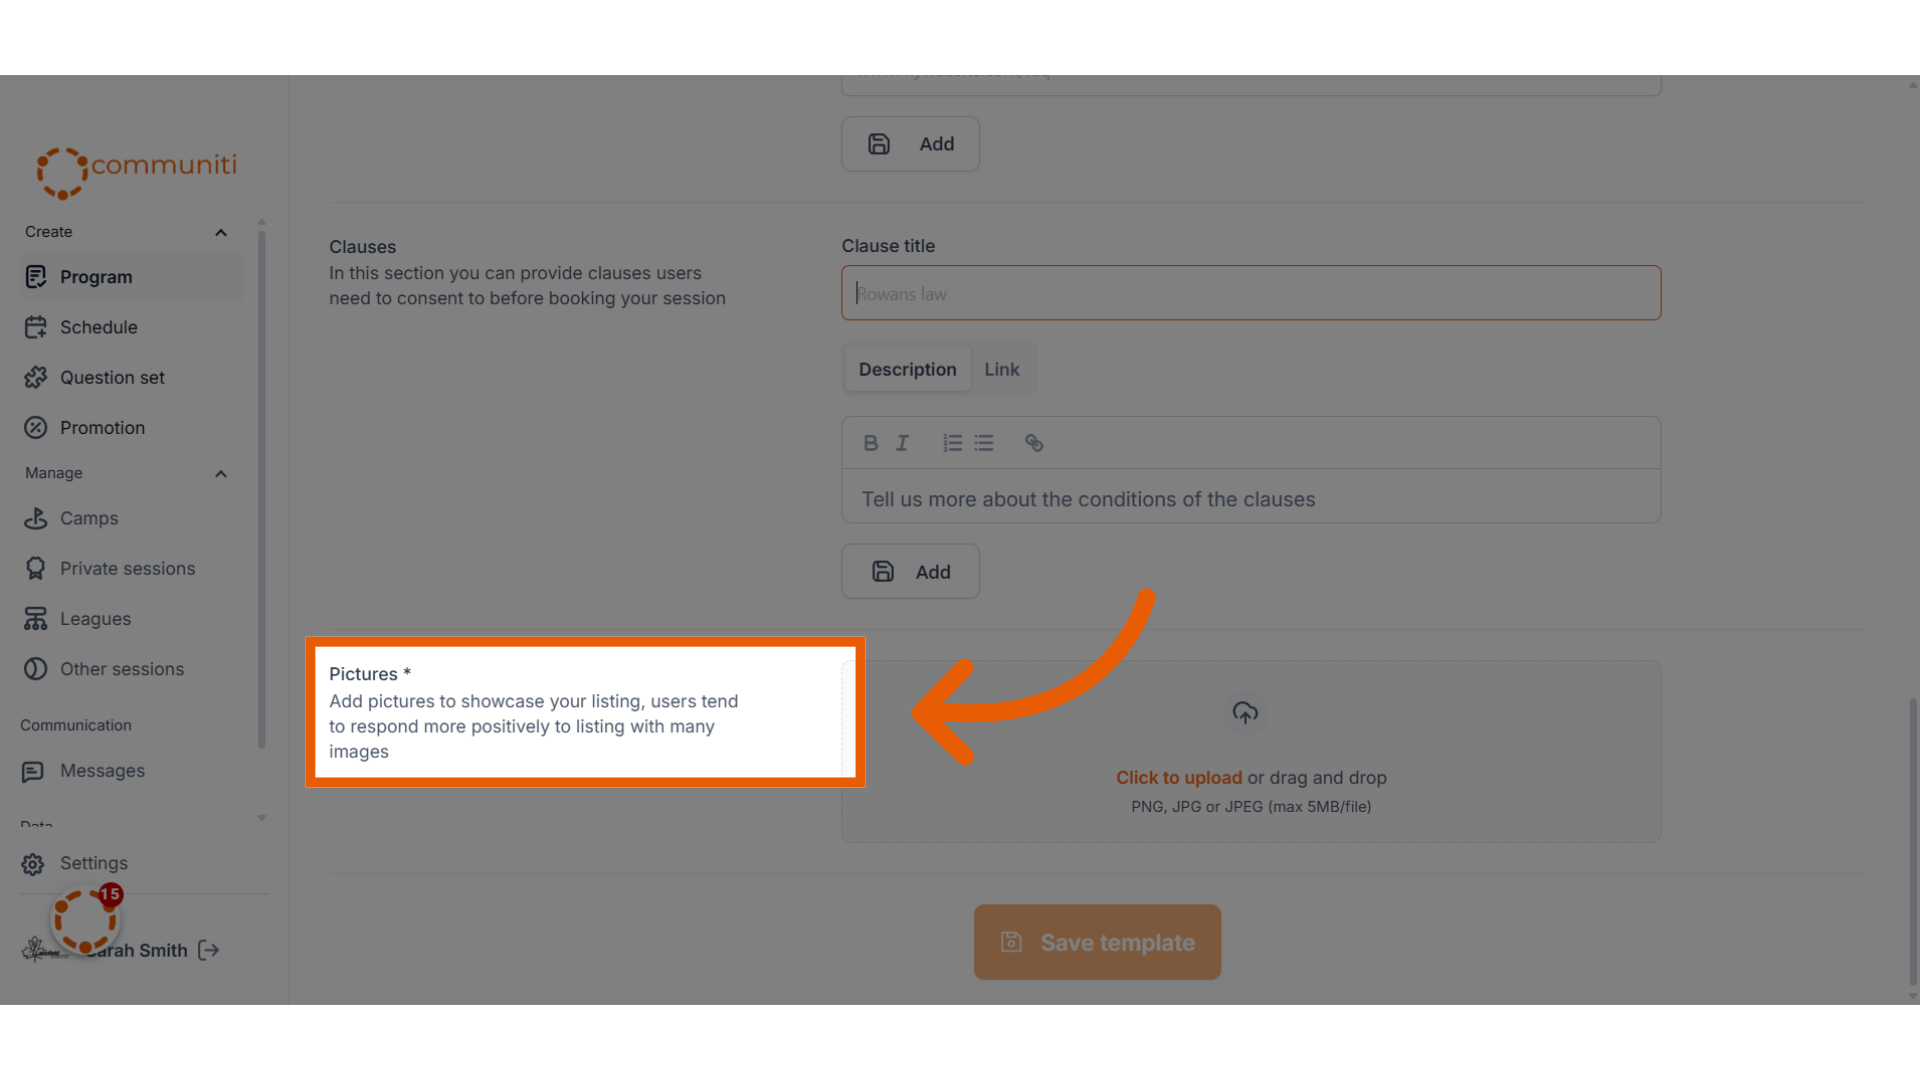
14. Click "Save template"
Once you click Save, your program is created!